

I love saunas. I started in gyms in the UK and got hooked as I spent more time working in central Europe over the last few years. In the UK they often run as low as 55°C and usually insist on swimwear, whereas our cousins on the continent bear their whole bodies at closer to 85°C. You can get a sweat on at lower temperatures but it's not as effective.
I'd often thought about how I could make better use of my garden and spend more time outdoors, and I frequently longed for the ferocious heat of the saunas I experienced in the Black Forest and the Carinthian Alps; my hot bath on Sunday night couldn't cut it. I searched tentatively on eBay and for the right tongue n groove at timber yards, eventually placing an only half-serious bid on a used sauna not so far from my home. If you baulk at the word 'used' then consider what description you'd give to one you'd find in a gym or a health club or a spa. I missed out by a tenner this first time and rued my resistance to impulse buy, until the same sauna got relisted and I made a deal with the seller.

When I got to the house I found the unit installed tightly in a downstairs bathroom with no more than 100mm between each side panel and the walls - I still can't figure out how the hell they built it up in there. Their house was hot and, after three hours removing screws and carefully shuffling panels, I had one hell of a sweat on. I loaded everything onto the roof rack of the truck and made my way home.
Work to do:
- Sand Down
- Treat Exterior
- Make a Base
- Make a Roof
- Assemble
- Wire it In
- Water Source
Sand Down Everything
Work on the inside and out, including benches - 80 grit then 180 - made easier by 18V Makita Orbital 125mm sander. This one is made of Aspen wood and each panel has two layers of tongue and groove with 35mm of celotex or similar insulation sandwiched between.


I chose Sadolin Classic base coat followed by Sadolin Extra Durable - which is expensive but non water based, applies easily and looks fantastic. I used 'light oak'.


This sauna had no floor as is typical - so we need something to walk on, to lift the panels off the ground and provide some level of insulation. Think posh pallet. I used decking boards as the floor, sat on top of 4*2s run perpendicularly, which in turn sit on slim cut gravel boards which have been pressure treated and preserved for longevity as the contact patch to the slabs at the back of my garden. (NB treated wood is a no-no anywhere else inside a sauna other than the floor as the heat will cause whatever is in it to weep out).


The sauna has insulated panels as a roof already, but of course they're laid flat and expose the channels in the top of the sides. I made a single pitch simple construction using lengths of 4*2 sandwiched between slim ply - preferably marine and between 9 - 12mm. EPDM rubber and the right glue ordered but not yet applied.


Cart everything outside and put it together slowly. Do not tighten the panel fixings as you go - make them secure but you'll need a bit of play to get everything properly aligned. The panels on this one sit astride a 2*2 frame that I screwed to the new base and sealed with all weather sealant to the decking. I applied another bead to the top of the frame to create a seal to the bottom of the panels. Once all the panels were on I ran sealant on the vertical joints and on the top against the side channels (the roof will cover these, but they're worth sealing fully for insulation purposes). Some of my interior trim pieces had previously had hooks screwed into them so needed some light repair - I made up a filler using the clean sawdust from the sander bag and some D4 woodglue. The sauna already had vents in the side panels; I used stainless steel vent grilles with the ducts removed to provide weather protection.


Wire it In
A 4.5kW sauna heater will draw about 19 amps (I=P/V=4500W/240V), which is a lot, and means it should have it's own breaker in your consumer unit and must not be spurred off any existing circuits. My sparky, Ryan Lambert, installed this for me as part of a new RCB-O consumer unit, replacing my 80's special as part of a partial house rewire. From that breaker at the front of the house I ran 6.0 mm² twin and earth to the kitchen at the back, into a large IP55 junction box on the inside face of the back wall. From there I ran 6.0 mm² Steel Wire Armoured (SWA) cable through the wall and into 25mm flexible PVC conduit. The conduit is not necessary if you are willing to bury your SWA more than 200mm below the ground which was not possible along the full route to the outhouse (yes, originally a toilet). I terminated the SWA inside the outhouse in an IP65 garage consumer unit so I could designate an RCD each to the sauna, and an outdoor plug circuit. From the 32 amp breaker I routed my SWA through the wall and round the back of the sauna into an IP65 junction box, finally connecting to my heater. All SWA terminations used exterior grade glands which take some finesse to fit properly at first but are worth the effort.


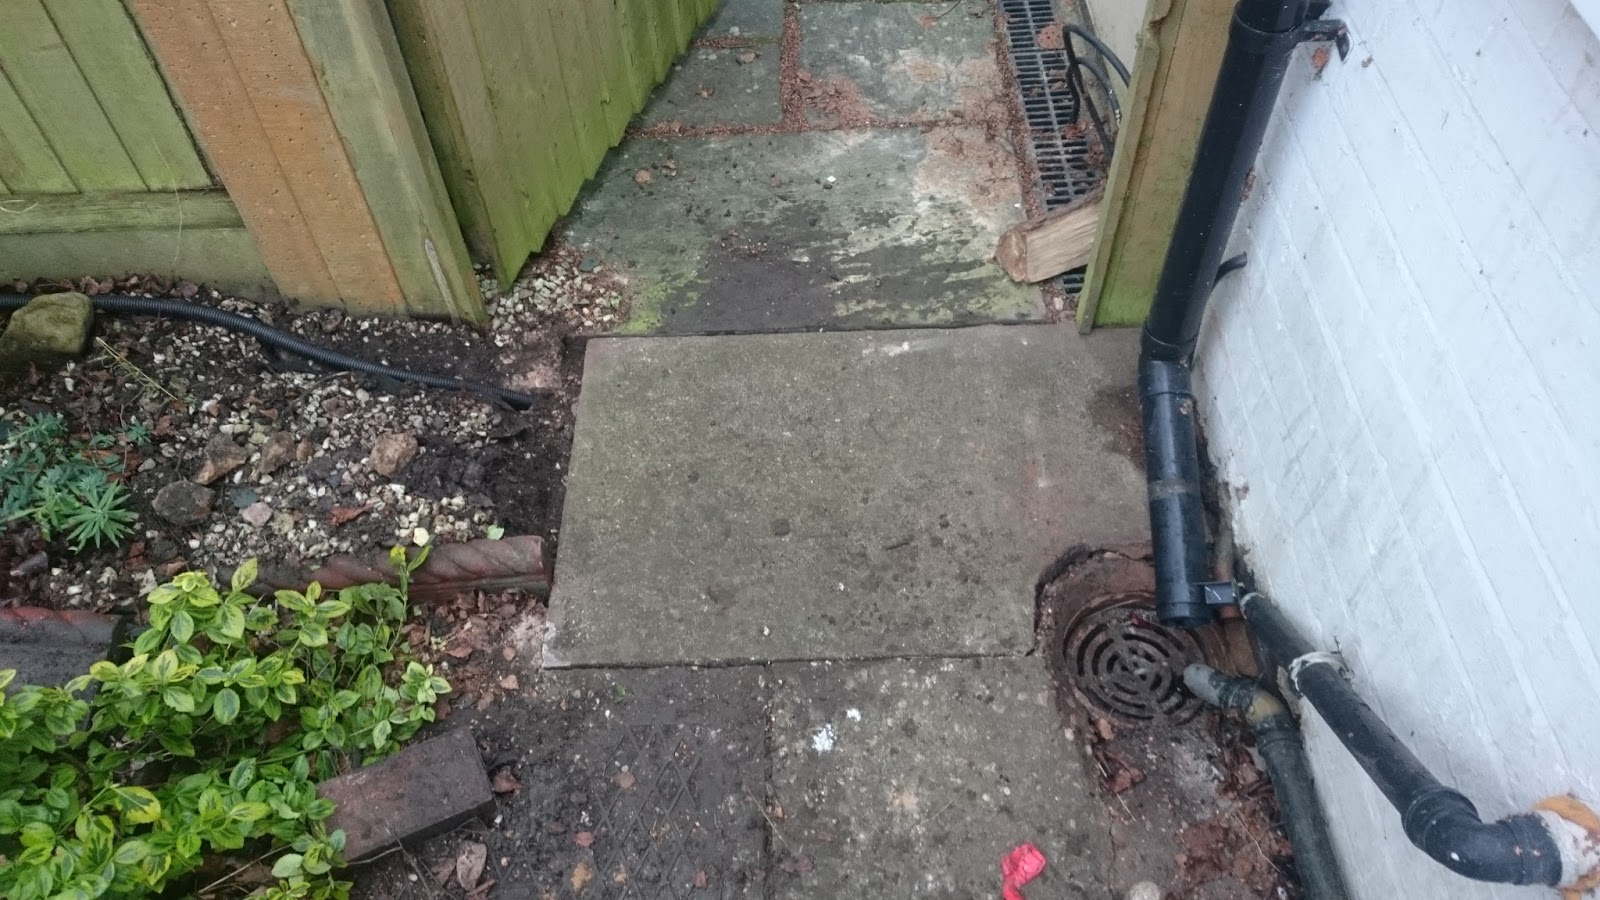


Install a Water Source
Cold water is a must for drenching yourself between sessions. The outhouse already had a feed for the water closet which still remains poking out of a flower bed next to it, behind where I installed the sauna. From there I've run 25mm MDPE pipe connected to a tap on a wall plate, which feeds a shiny new hosepipe.
I have a lot of work still to do but it's now operational. Running figures below:
- 30 mins to reach 60°C
- 60 mins to reach 85°C
- Daytime usage works out approx £0.50 per hour
- Evening/Night usage approx £0.25 per hour
No comments:
Post a Comment